
If you own a riding lawn mower, you know how important it is to keep it in good working order. An important aspect of maintenance is ensuring that the transaxle, which transfers power from the engine to the wheels, is properly locked when necessary. Whether you’re performing maintenance or transporting your lawnmower, it’s crucial to know how to lock the transaxle. In this guide, we’ll walk you through the steps to effectively lock the transaxle on your riding lawn mower.
Step One: Safety First
Before starting any maintenance on your riding lawn mower, it is important to ensure your safety. Park the mower on a flat, level surface and engage the parking brake. Turn off the engine and remove the key to prevent accidental starting. It’s also a good idea to wear gloves and goggles to protect yourself from any potential dangers.
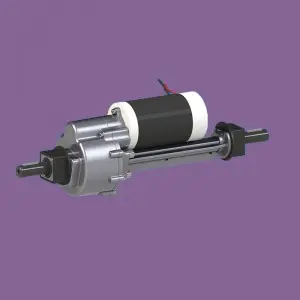
Step 2: Locate the transaxle
The transaxle is an important part of your riding lawn mower, and it’s important to know its location. Typically, the transaxle is located underneath the mower, between the rear wheels. It is connected to the engine and wheels and is responsible for transferring power from the engine to the wheels to propel the mower forward or backward.
Step 3: Understand the locking mechanism
Different riding lawn mowers may have different transaxle locking mechanisms. Some mowers have a lever or switch that needs to be engaged to lock the transaxle, while others may require the use of a pin or locking nut. Check your lawnmower manual for the specific locking mechanism of the transaxle.
Step 4: Engage the locking mechanism
Once you’ve identified the transaxle’s locking mechanism, it’s time to engage it. This step may vary depending on the type of mechanism your lawn mower has. If your lawn mower has a lever or switch, simply follow the instructions in the manual to engage the lock. If your lawn mower requires a pin or locking nut, carefully insert the pin or tighten the nut according to the manufacturer’s guidelines.
Step 5: Test the lock
After engaging the locking mechanism, it is important to test the lock to ensure the transaxle is properly seated. Try moving the mower by pushing it forward or backward. If the transaxle is properly locked, the wheels should not move, indicating that the transaxle is effectively locked.
Step 6: Release the lock
The transaxle can be unlocked once necessary maintenance or transportation has been completed and the transaxle no longer needs to be locked. Follow the steps in reverse to engage the locking mechanism, whether that’s loosening the lever or switch, removing the pin, or loosening the locking nut.
Step 7: Regular Maintenance
In addition to knowing how to lock the transaxle, it is also important to incorporate regular transaxle maintenance into your lawn mower routine. This includes checking the transaxle fluid level, checking for leaks or damage, and making sure the transaxle is properly lubricated. Regular maintenance will help extend the life of your transaxle and keep your riding lawn mower in top working order.
In summary, knowing how to lock the transaxle on your riding lawn mower is an important aspect of maintenance and safety. By following the steps outlined in this guide and understanding your lawnmower’s specific locking mechanism, you can ensure that the transaxle is properly secured when necessary. Remember to put safety first, consult your lawn mower manual, and perform regular maintenance to keep your riding lawn mower in top condition.
Post time: Apr-17-2024