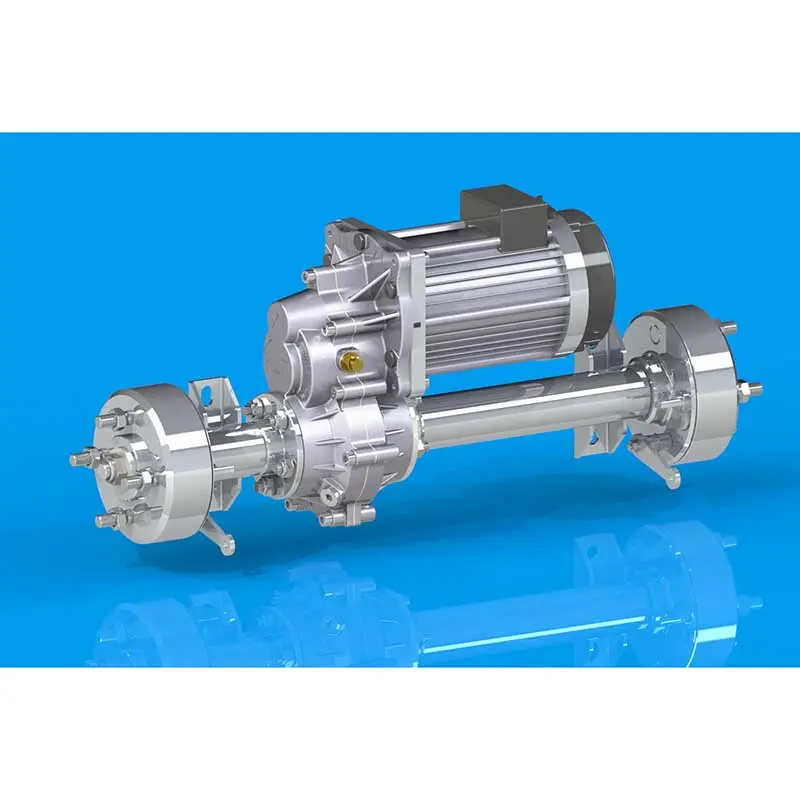
The transaxle pulley is a critical component in the operation of the vehicle’s driveline. Over time, the transaxle pulley may need to be removed for maintenance or repair. In this article, we’ll provide a step-by-step guide on how to remove the transaxle pulley, complete with helpful diagrams to help you through the process.
Step 1: Gather the necessary tools
Before you begin removing the transaxle pulley, you must have all the necessary tools ready. You will need a socket wrench, a set of sockets, a breaker bar, a torque wrench, and a pulley removal tool. Additionally, it is recommended to have a diagram or manual for the transaxle system for reference.
Step Two: Prepare the Vehicle
To ensure safety and accessibility, it is important to prepare the vehicle for the pulley removal process. Park the vehicle on level ground and engage the parking brake. If necessary, use a jack to lift the front of the vehicle and secure it with jack stands. This will make it easier to operate the transaxle pulley and ensure a safe working environment.
Step 3: Locate the transaxle pulley
The transaxle pulley is usually located on the front side of the driveline and connects to the input shaft. Before proceeding with the disassembly process, the exact position of the pulley must be determined. Refer to the transaxle system’s diagram or manual to locate the pulley and become familiar with its components.
Step 4: Remove the drive belt
Before removing the transaxle pulley, you need to remove the drive belt connected to it. Using a socket wrench and the appropriate socket size, loosen the tensioner pulley to relieve tension on the drive belt. Carefully slide the drive belt off the transaxle pulley and set it aside. Note the belt direction to ensure proper reinstallation later.
Step 5: Secure Transaxle Pulley
To prevent the pulley from rotating during removal, it is important to secure it in place. Use the pulley removal tool to stabilize the transaxle pulley while removing the retaining bolts. This will ensure that the pulley does not rotate or move accidentally, making the removal process easier.
Step 6: Remove the retaining bolts
Using the breaker bar and appropriately sized socket, loosen and remove the retaining bolt that secures the transaxle pulley to the input shaft. The mounting bolts may be tightened very tightly, so it is important to use the appropriate tools and apply steady, controlled force to loosen them. After removing the retaining bolts, place them in a safe place so you can reinstall them later.
Step 7: Use the Pulling Tool
With the retaining bolts removed, the transaxle pulley can now be removed from the input shaft. However, due to the tight fit of the pulley on the shaft, a pulling tool may be required to facilitate its removal. Install the puller tool onto the pulley according to the manufacturer’s instructions, then gradually tighten the puller to apply pressure and separate the pulley from the shaft.
Step 8: Check Pulleys and Shafts
After successfully removing the transaxle pulley, take a moment to inspect the pulley and input shaft for any signs of wear, damage, or debris. Clean the shaft and pulley mounting surfaces to ensure a smooth and safe reinstallation process. Also, inspect the pulleys for any signs of wear, such as cracks in the pulley grooves or excessive wear.
Step 9: Reinstallation and Torque Specs
When reassembling the transaxle pulley, it is critical to follow the manufacturer’s mounting bolt torque specifications. Using a torque wrench, tighten the mounting bolt to the specified torque value to ensure proper tightening and secure the pulley to the input shaft. Reinstall the drive belt to the pulley following the original wiring pattern.
Step 10: Lower the vehicle and test
After successfully reinstalling the transaxle pulley, lower the vehicle off the jack stands and remove the jack. Start the vehicle and let it run for a few minutes, observing the operation of the transaxle pulley and making sure the drive belt is working properly. Listen for any unusual noises or vibrations, which may indicate a problem with the pulley installation.
All in all, removing the transaxle pulley is a task that requires careful attention to detail and the use of proper tools and techniques. By following the step-by-step guide provided in this article along with helpful diagrams, you can confidently proceed with the process of removing the transaxle pulley for maintenance or repair. Remember to prioritize safety and precision throughout the process to ensure successful transaxle pulley removal and reinstallation.
Post time: May-27-2024


