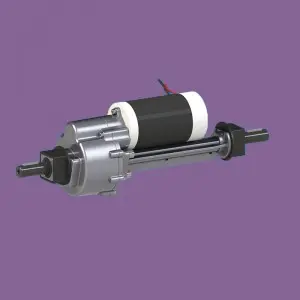
If you’re a DIY enthusiast or a professional mechanic, you know the importance of maintaining and repairing your garden equipment. One of the important parts of a garden tractor or lawn mower is the transaxle, which transmits power from the engine to the wheels. Peerless transaxles are a popular choice for many garden equipment models due to their durability and performance. However, as with any mechanical part, it may require welding to repair cracks or damage. In this blog, we’ll guide you through the process of welding a Peerless garden transaxle to ensure your unit is running at its best.
Before we delve into the welding process, it’s important to emphasize the importance of safety. Welding involves high temperatures and potential dangers, so be sure to wear the appropriate protective gear, including a welding helmet, gloves, and flame-retardant clothing. Also, make sure you work in a well-ventilated area to avoid breathing harmful fumes.
The first step in welding a Peerless garden transaxle is to assess the extent of the damage. Inspect the transaxle for any cracks, breaks, or weak areas. Surfaces around the damaged area must be thoroughly cleaned to remove dirt, grease or rust. This will ensure a clean welding surface and a strong bond between the metal pieces.
After cleaning the area, use a sander to prepare the surface for welding. Grind away any paint, rust, or debris to expose bare metal. This will promote better weld penetration and a stronger bond. After sanding, use a degreaser to clean the area again and remove any remaining contamination.
Now, it’s time to set up your welding equipment. Make sure you have the right welder and electrode for the job. For welding a Peerless transaxle, it is recommended to use the MIG (Metal Inert Gas) or TIG (Tungsten Inert Gas) welding process due to its higher accuracy and strength. Set the welder to the appropriate settings based on the thickness of the metal and the type of electrode being used.
Before starting the welding process, it is critical to preheat the transaxle to the proper temperature. Preheating helps reduce the risk of cracking and ensures better weld penetration. After the transaxle is warmed up, carefully spot weld the cracked or damaged areas to hold the components together. Spot welding creates a temporary bond that allows you to make adjustments before completing the final weld.
When making the final weld, make sure to keep your hands steady and maintain a consistent welding speed. Move the welding gun or gun back and forth to create a strong, even weld bead. Pay close attention to heat input to prevent metal from overheating and warping. Achieving full penetration is critical to ensuring the strength and integrity of the weld.
After completing the welding process, allow the transaxle to gradually cool to room temperature. After cooling, inspect the weld for any imperfections or imperfections. If necessary, sand down any uneven weld beads or protrusions to obtain a smooth, even surface.
Finally, conduct a thorough post-weld inspection to ensure weld quality. Check for any cracks, holes, or signs of incomplete fusion. Additionally, pressure testing is performed to verify the integrity of the welds and the strength of the transaxle.
All in all, welding a Peerless garden transaxle requires precision, skill, and attention to detail. By following the steps outlined in this blog and prioritizing safety, you can effectively repair and strengthen your garden equipment, ensuring its optimal performance and longevity. Remember, practice makes perfect, so don’t be discouraged if your first weld isn’t perfect. With time and experience, you’ll master the art of welding and become proficient in maintaining your garden transaxle and other mechanical components.
Post time: Jun-05-2024


